Client Yumebau (yumebau.com)
Date January - April, 2018
Team
Seán Conroy (3D Artist, VFX Artist, UX Design)
Pushkar Patange (Product Owner, Lead UI/UX Designer)
Ezra Istiroti (Scrum Master)
Héctor Alzate (Developer, Back-End Integration)
Julie Puech (Developer, UX Design)
Robin Yuan (Developer)
Project Goal
Yumebau is composed of talented people that specialise in hyper-realistic AR and immersive VR experiences. The team was tasked to create a new AR game with an aim to revolutionise the genre. With a timeframe of 13 weeks, extensive research and, with the direction of Yumebau, this research and development project aimed to deliver a prototype that would provide an engaging game for grade-school kids.
Challenges
- First time working with ARKit
- ARKit was still in its infancy
- No previous AR design experience
MY CONTRIBUTIONS
- Provided realistic 3D assets through the use of photogrammetry, improving our 3D pipeline.
- Helped design innovative AR puzzles that made full use of the medium.
- Created 3D models and explored the use of texture maps to create high-quality materials.
PERSONAL TAKEAWAYS
- First time designing an AR application.
- Learned how to design intuitive AR interactions.
- Learned the process of photogrammetry to create high-fidelity assets.
- Discovered solutions for creating multiplayer AR experiences
Process
Brainstorming and Kick-Off
This was my first industry project at the Centre for Digital Media. It was my first time working with a new team and the only information we had prior was a short brief that detailed a possible goal of the project.
Before we had our first client meeting, we had many questions prepared so that we could quickly begin working on a solution. We tried to gauge what platform we’d be working on as well as where it would be utilised. Our first meeting was a great success as not only did we get answers to our questions, but we had a better understanding of what we would be creating. Simply put, we would be developing a prototype of an augmented reality puzzle game for grade-school children that would teach a broad range of subjects in a fun and engaging way.
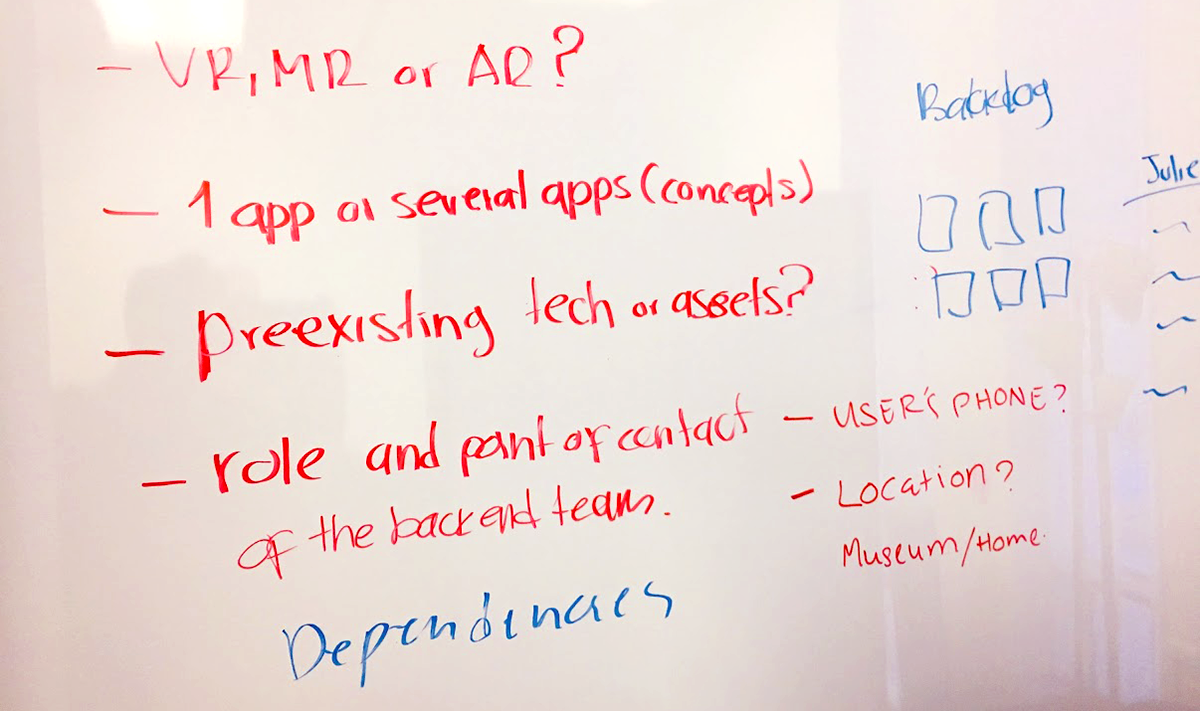
Planning questions and discussions prior to the first meeting
Graphic recording and notes taken throughout the meeting
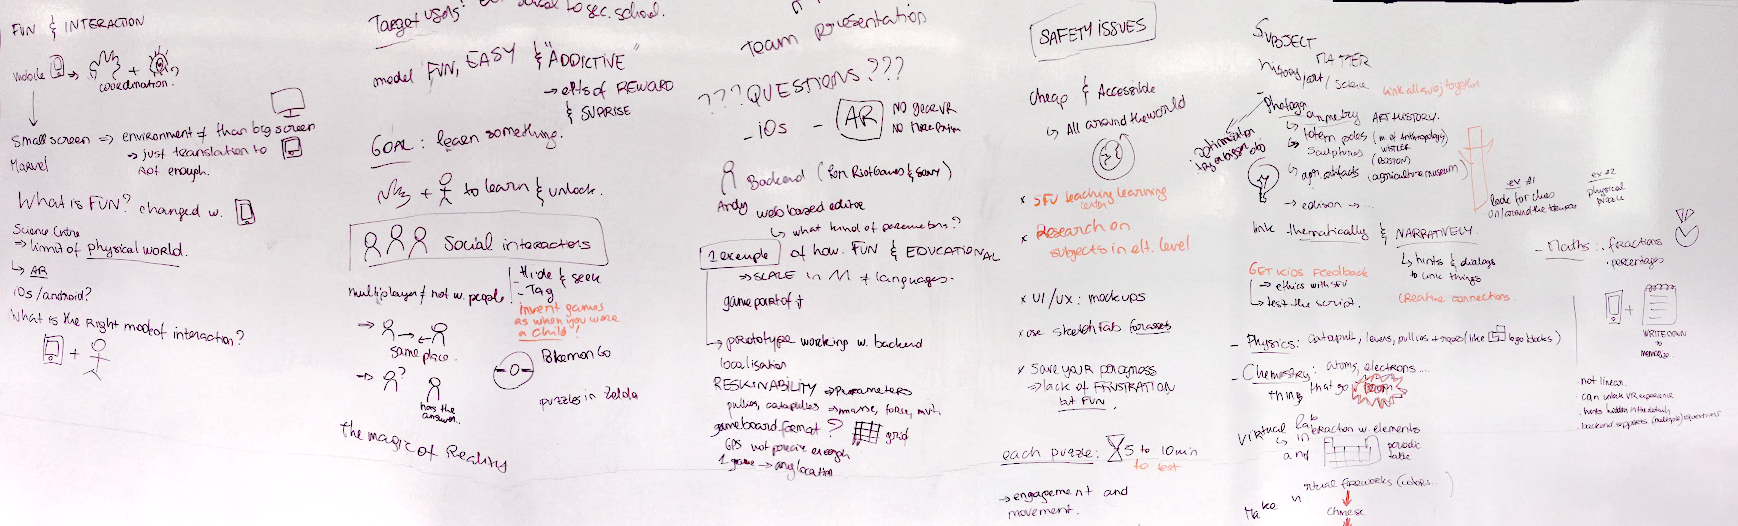
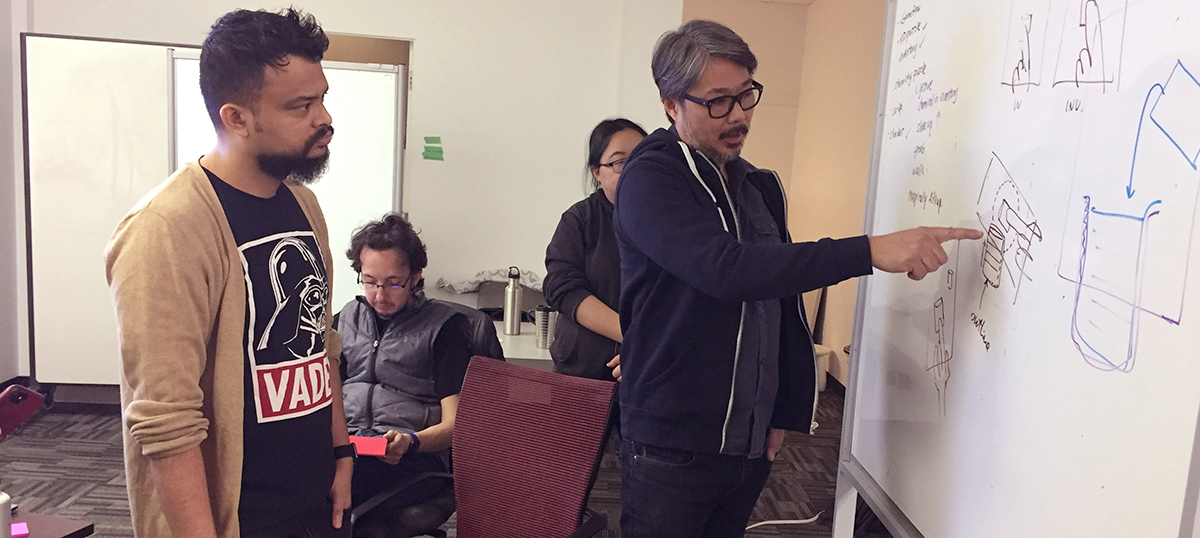
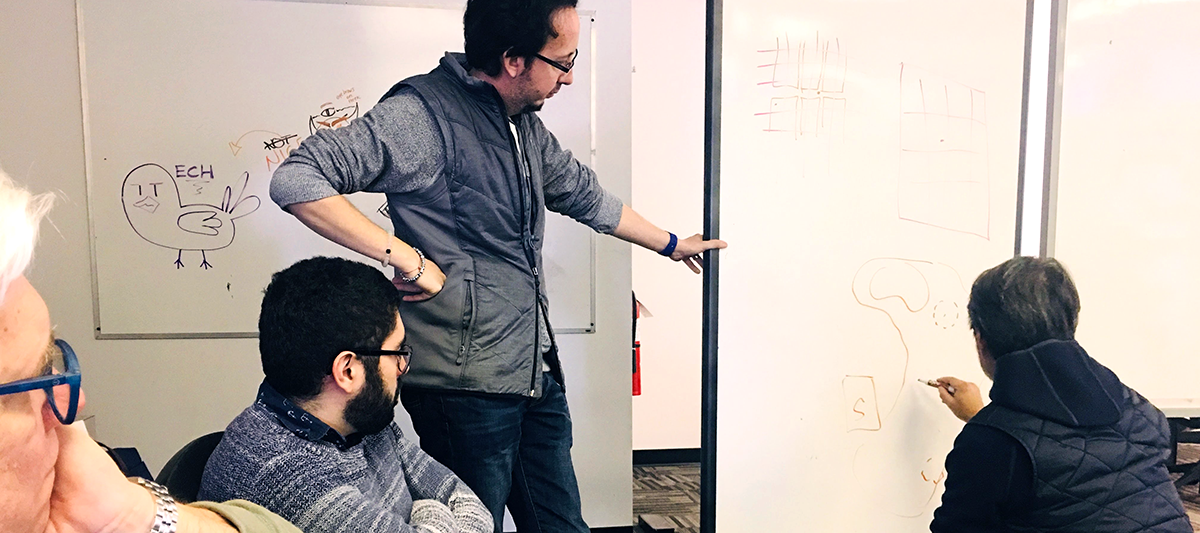
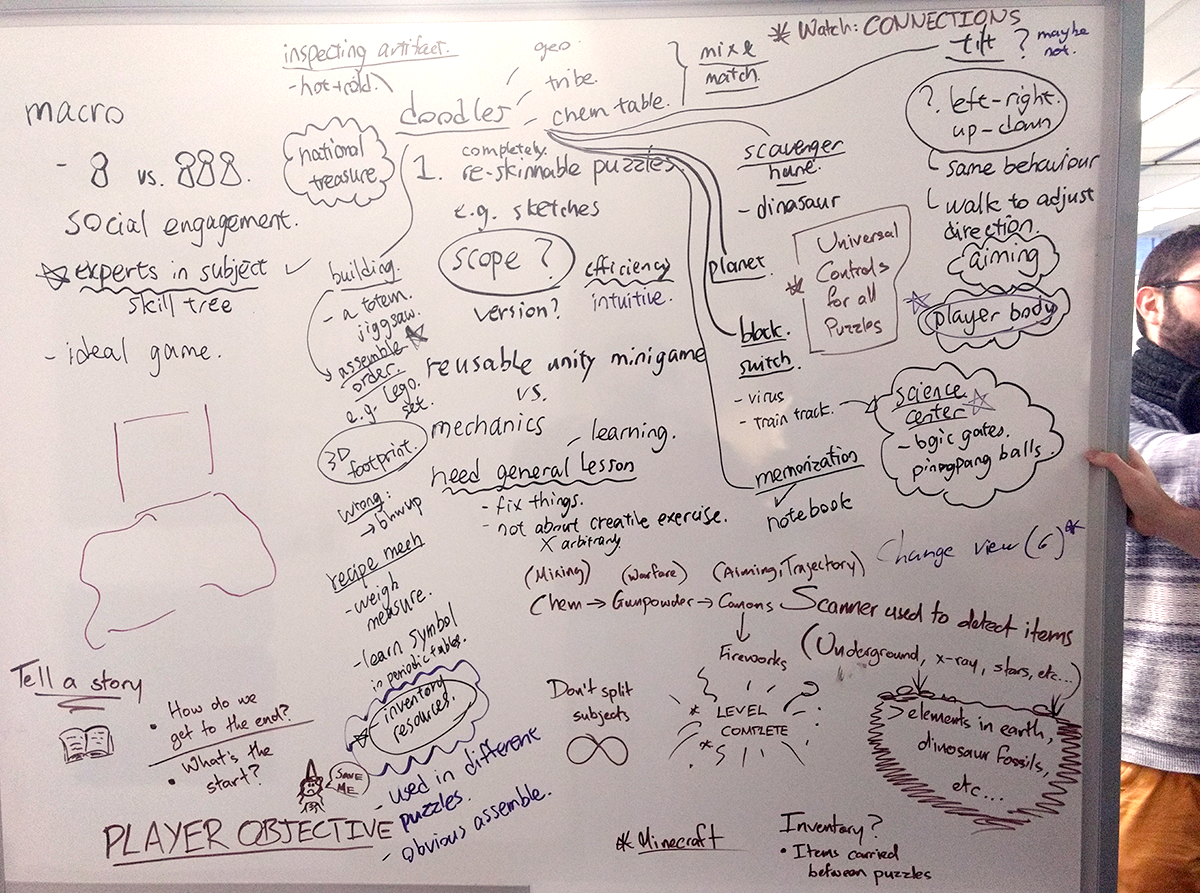
With this clear direction, we began exploring mechanics and games that could be both fun and informative for the user. We found that, while verbally sharing ideas is great, an idea can be much better explained through a simple drawing. The team began sketching out potential puzzle ideas and discussing how it would work in an AR setting.
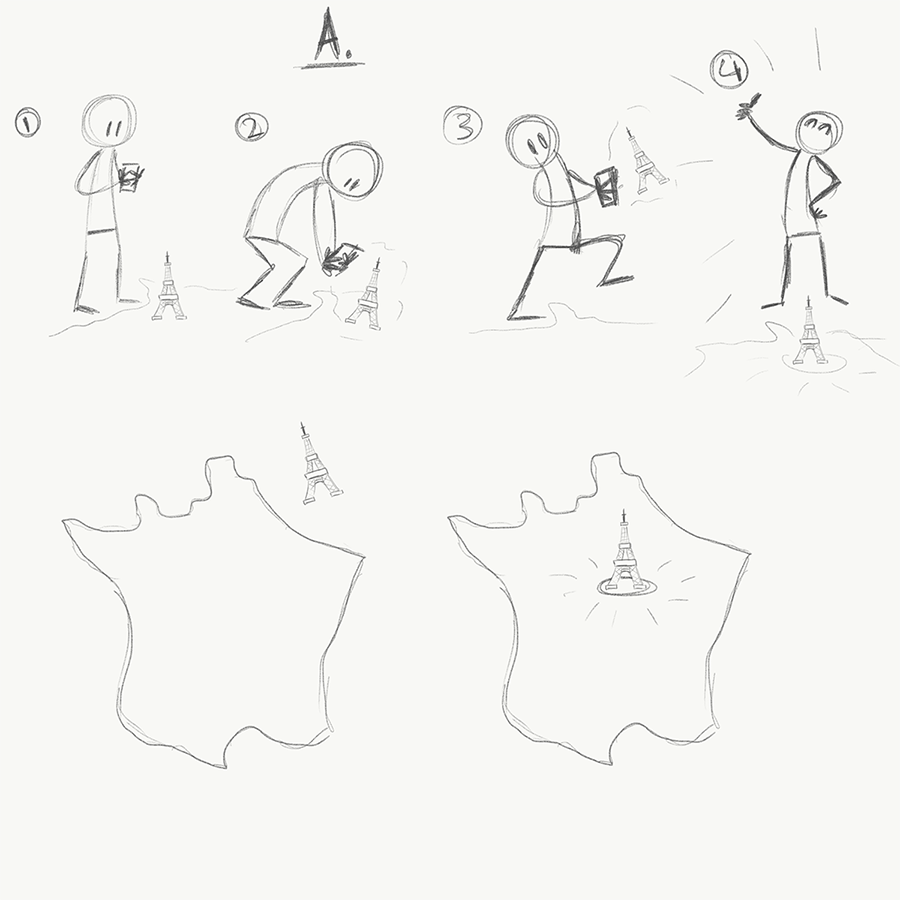
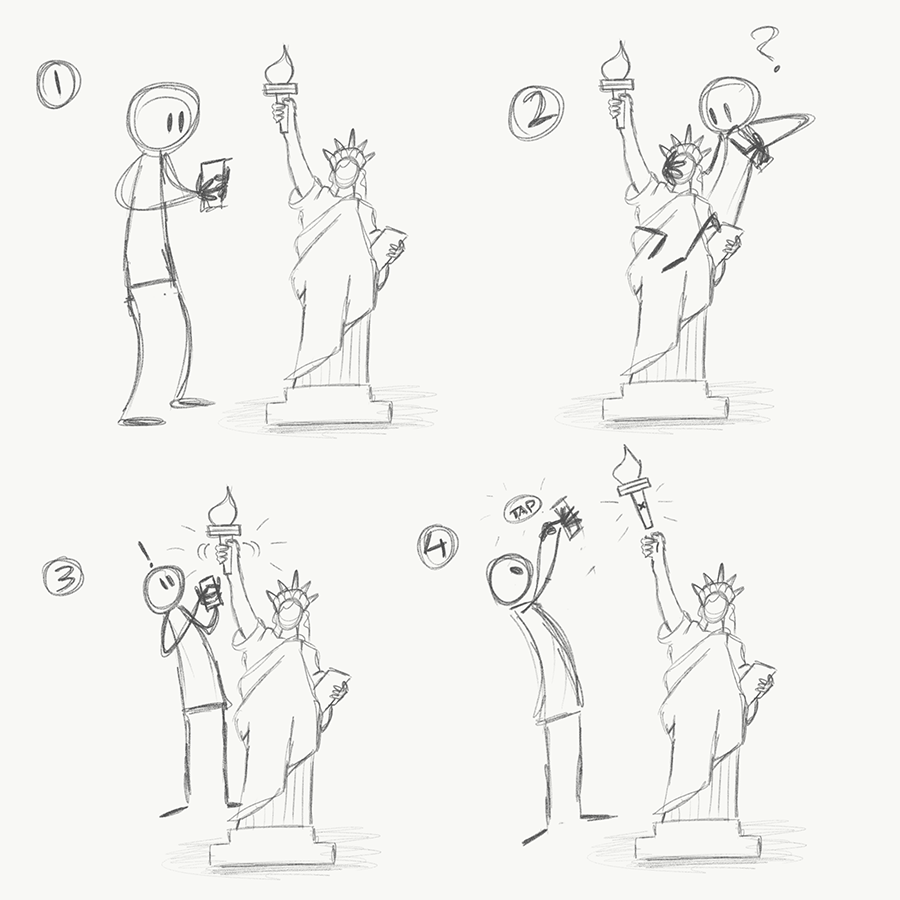
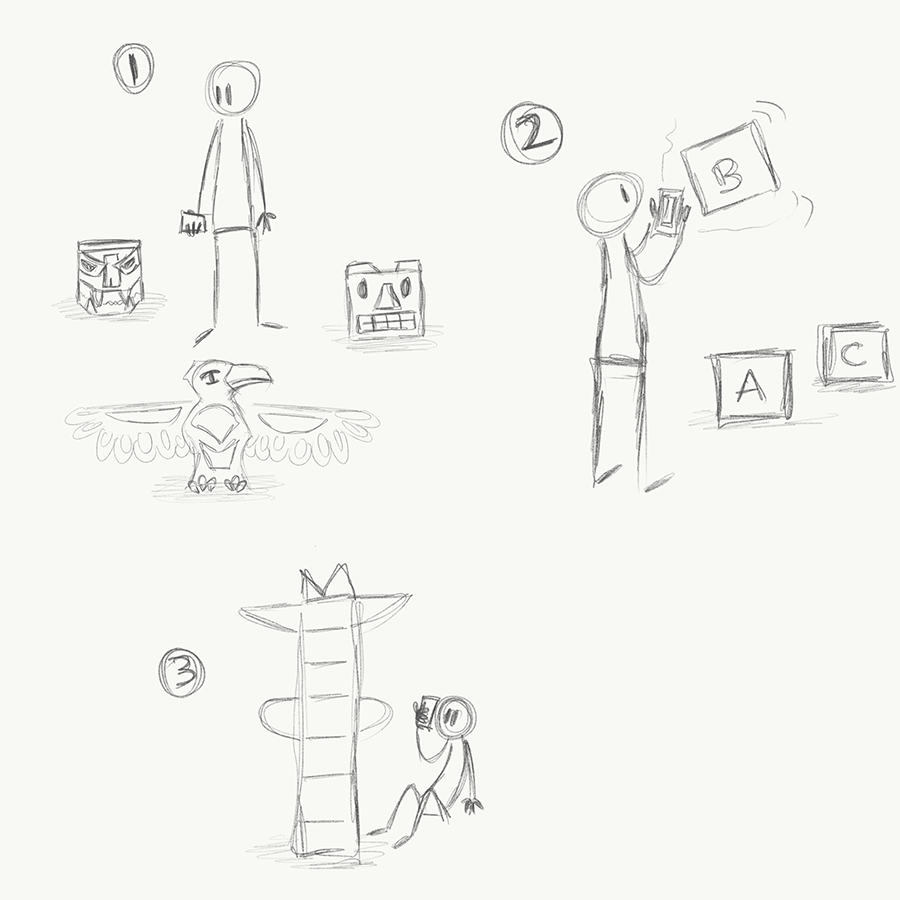
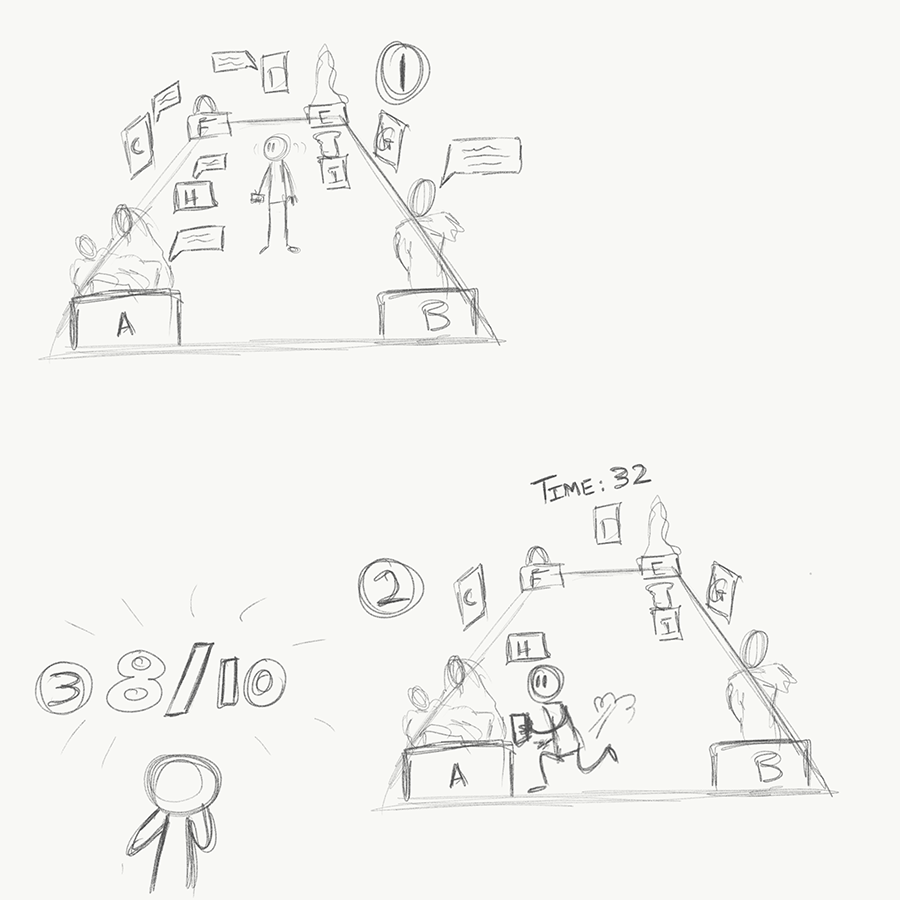
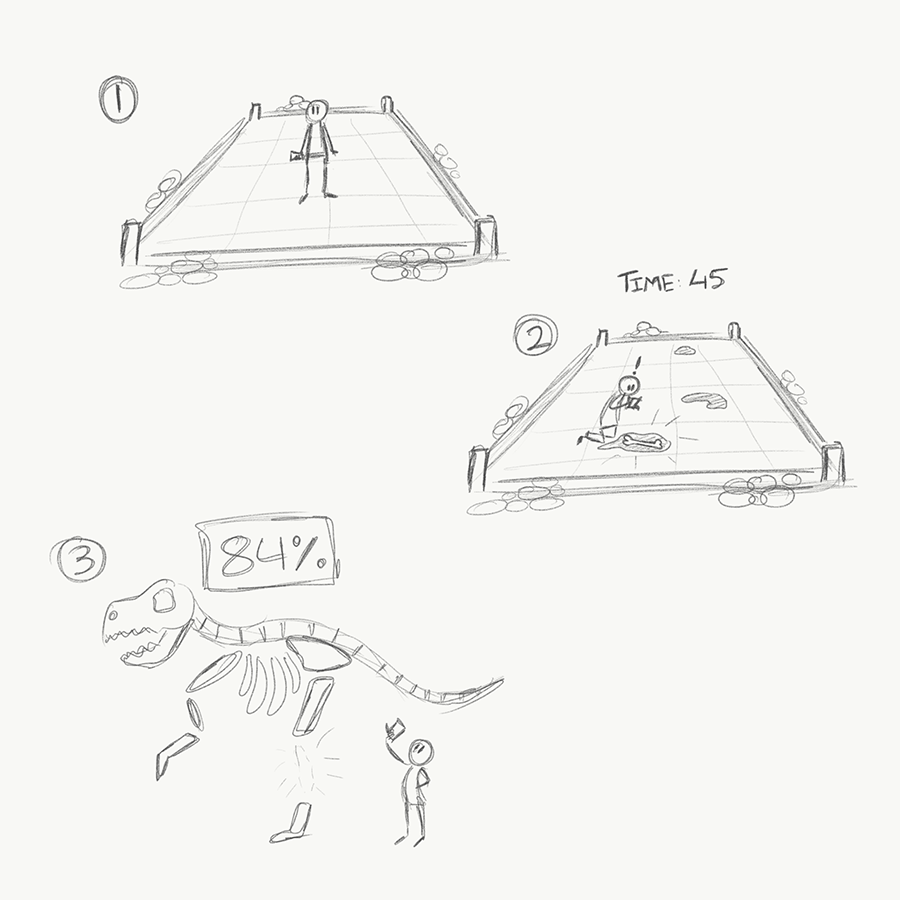
Examples of sketches used to illustrate ideas
Prototype, Test and Iterate
The largest component of this project was rapidly building and testing a series of prototypes. As AR was, and still is, in its infancy, there were many elements that sounded great on paper but needed to be proved out. To this end, the team got straight into prototyping, testing out the core mechanics of the app before later building them into fully-fledged interactive puzzles. We had 3 main methods of testing in total.
Firstly, we had internal testing, where each team mate would try out the latest prototype and give feedback and suggestions based on their experience with it. This was the most common method of testing that we employed, as it was easy to get members for testing throughout the day. This was especially useful for fixing any lingering bugs or breaks in the experience, allowing the development team to share a more polished version with our client.

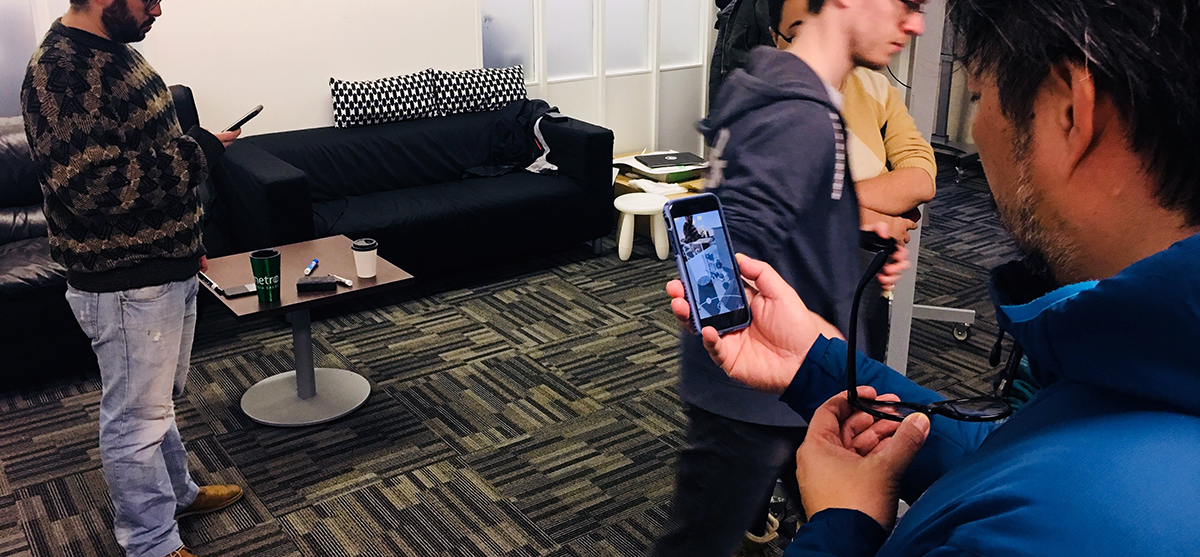
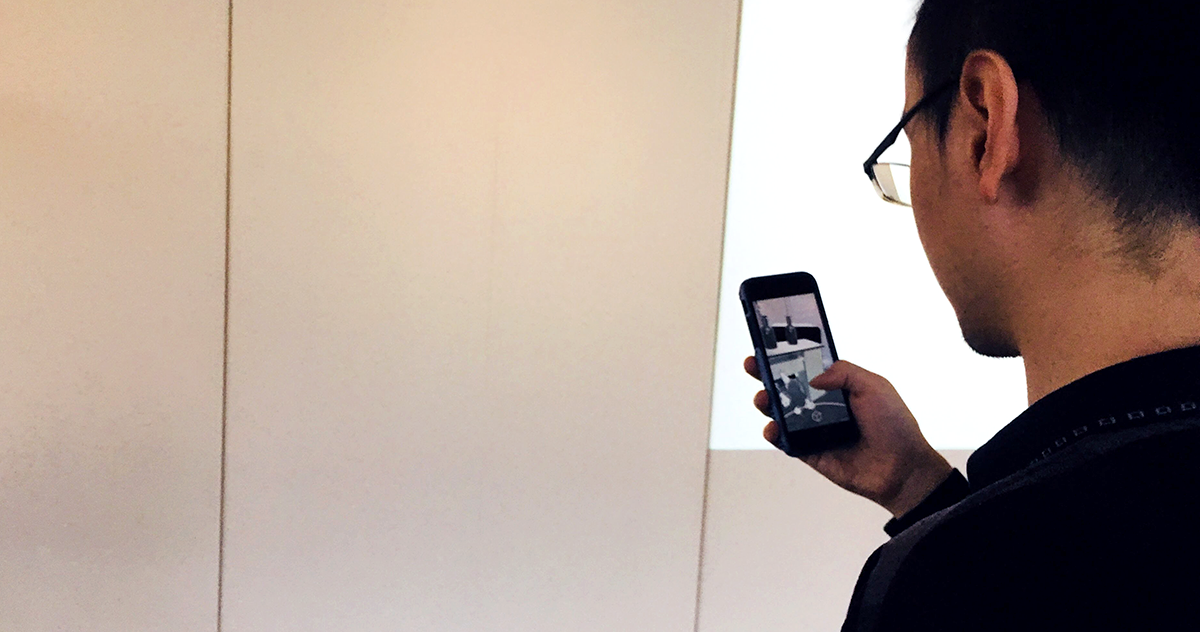
Internal testing with the team
Our client visited our office every week to test the latest version of the prototype and gave amazing feedback and guidance that allowed us to improve the prototype which each passing week. During each meeting, the team would graphically record everything that was discussed. This made it easier to remember key points of feedback and suggestions which, in turn, made planning the next steps of the project more effective.
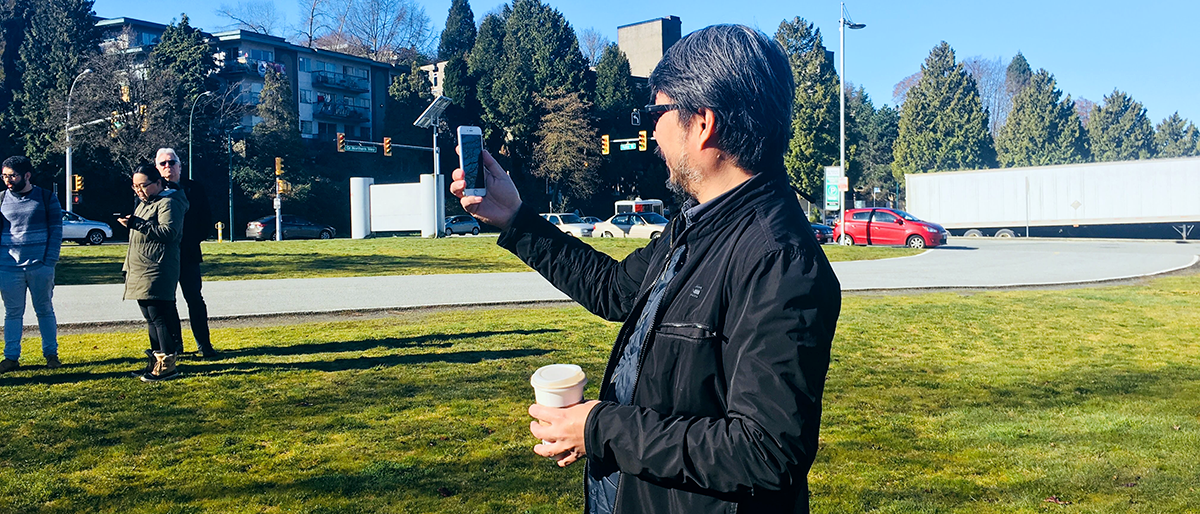
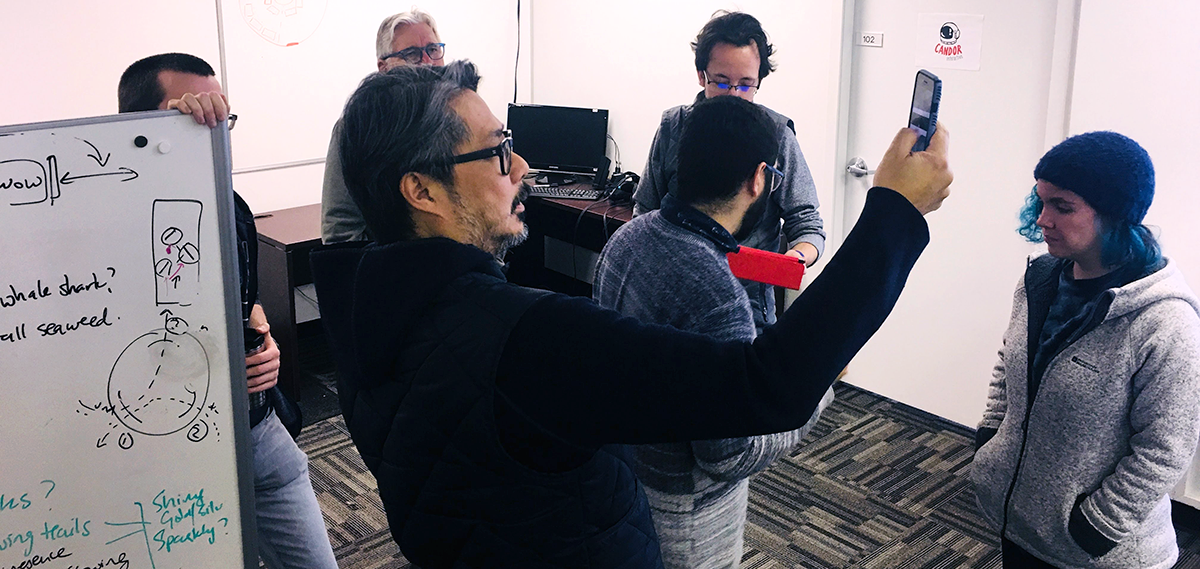
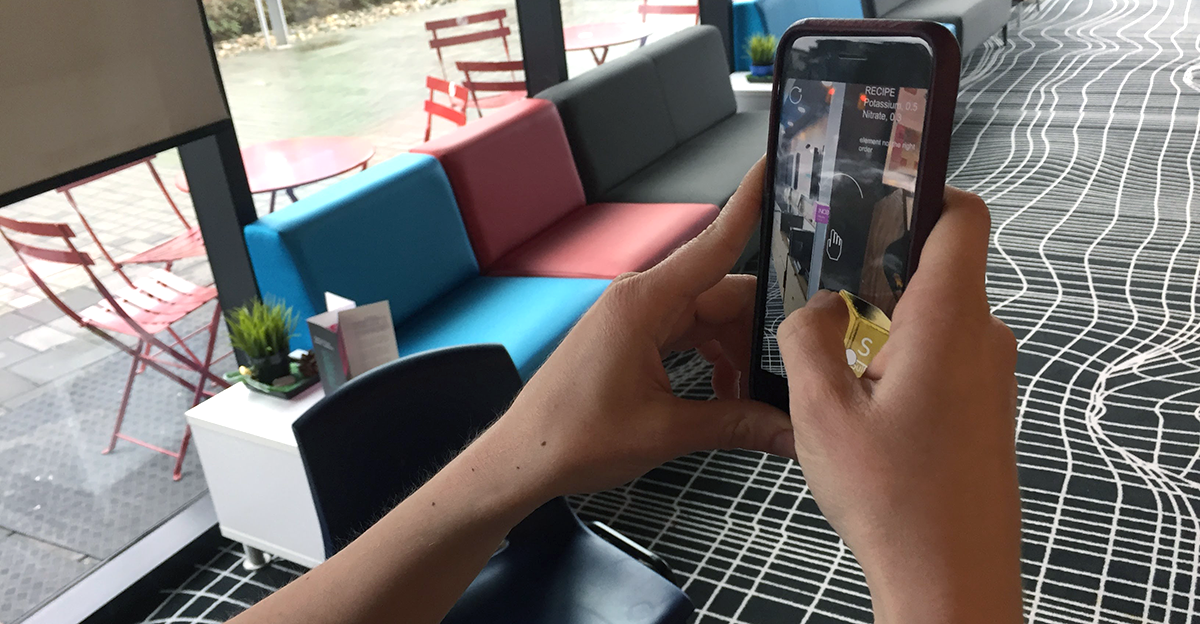
Testing with our client
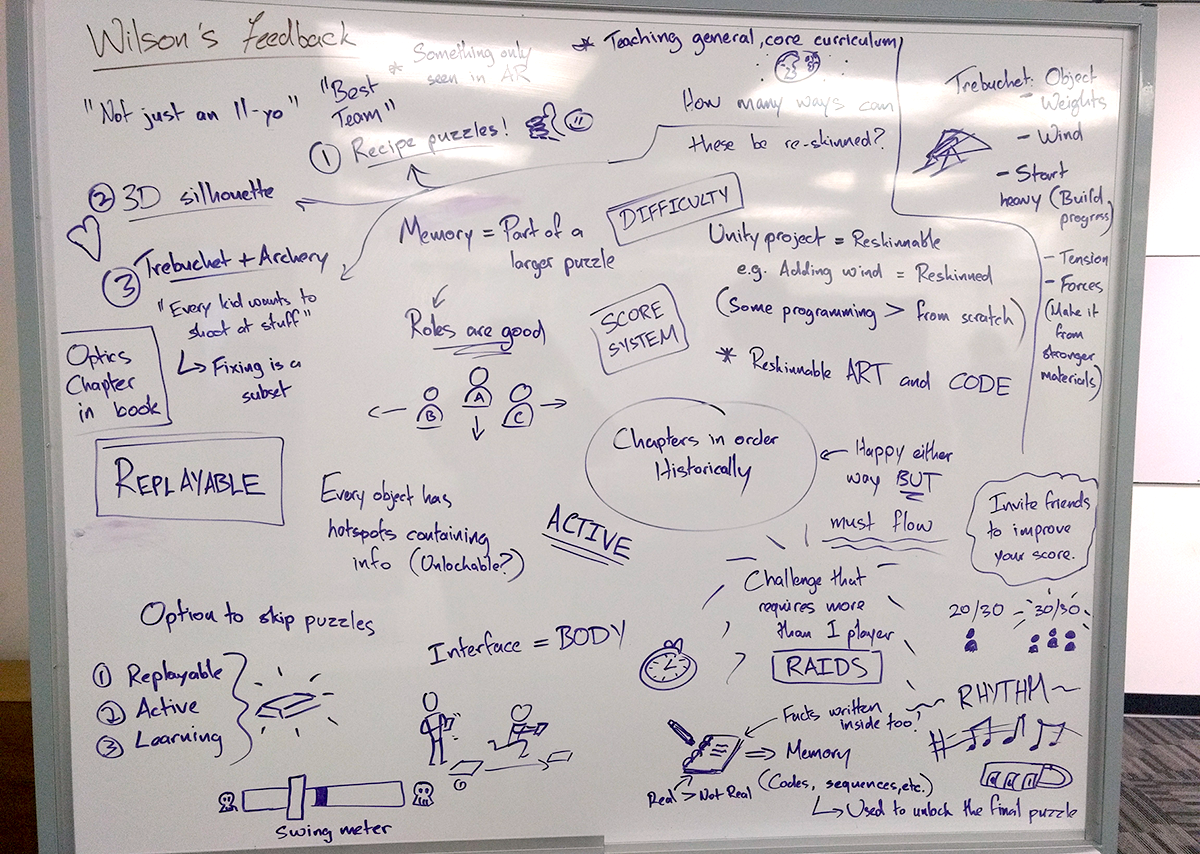
Graphic recordings from a meeting with our client
Lastly, we also held some user-tests throughout the development of this project. These tests allowed use to get additional feedback that, unlike our internal tests, was completely unbiased. Users were quick to tell us the things they liked about the prototype as well as their problems with using it. By having prototypes that we were easily able to test, we were able to iterate upon what we’d built, greatly improving the experience of the app over the course of development.
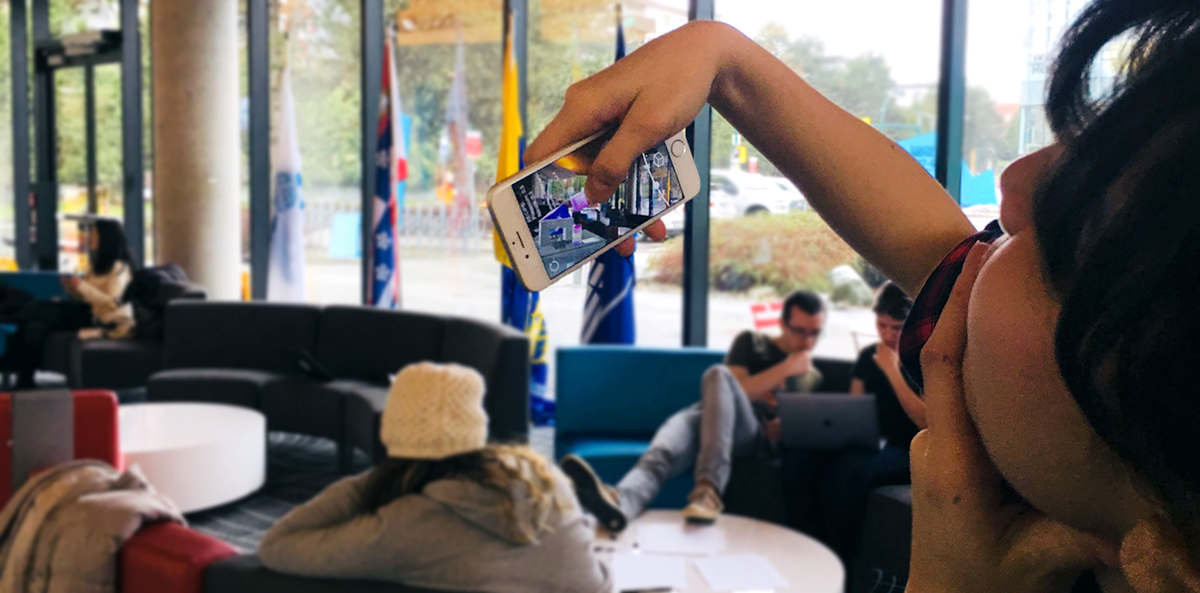
User-tests with members of our cohort
Learning New Skills
For me, one of the greatest aspects of this project was that it gave me the chance to learn new technical skills, primarily, the process and pipeline of using photogrammetry in Unity.
While I was familiar with the concept, I’d never experienced the process of creating my own photogrammetised assets. Thankfully, due to wonderful resources such as Unity’s extensive breakdown of their workflow, I was quickly able to start making my own hyper-realistic 3D assets.
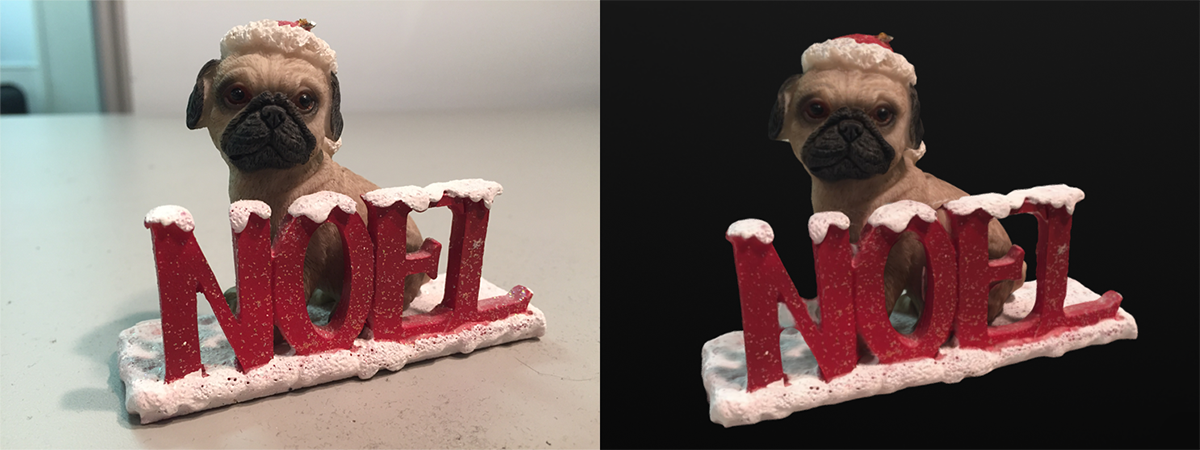
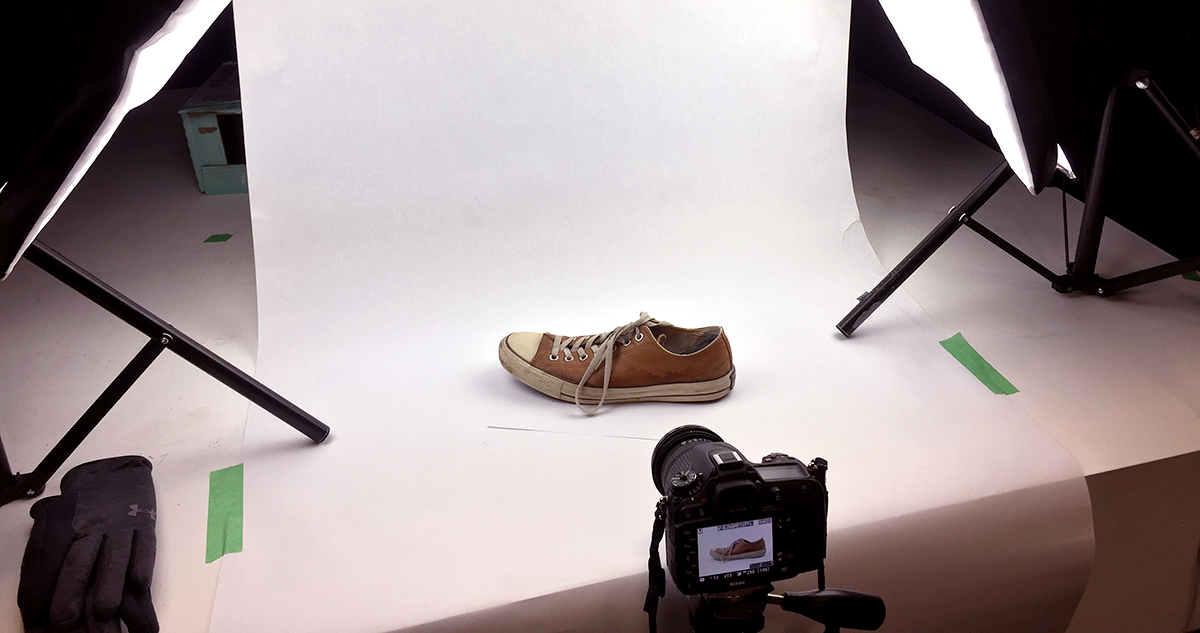
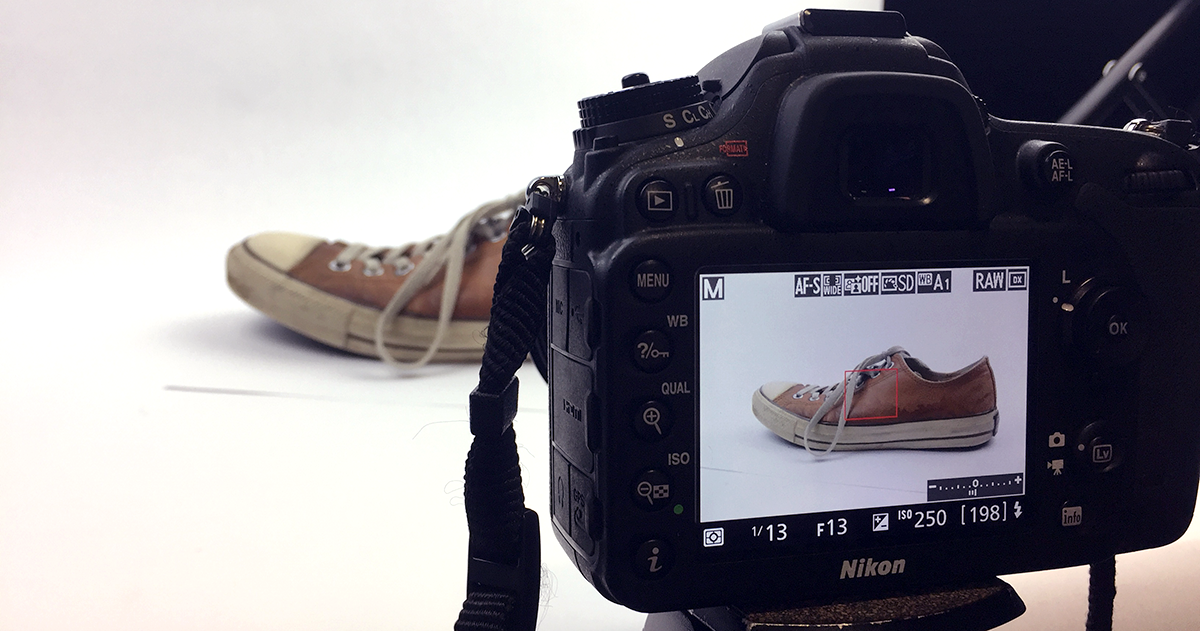
First photogrammetry test: real-world model compared to 3D model
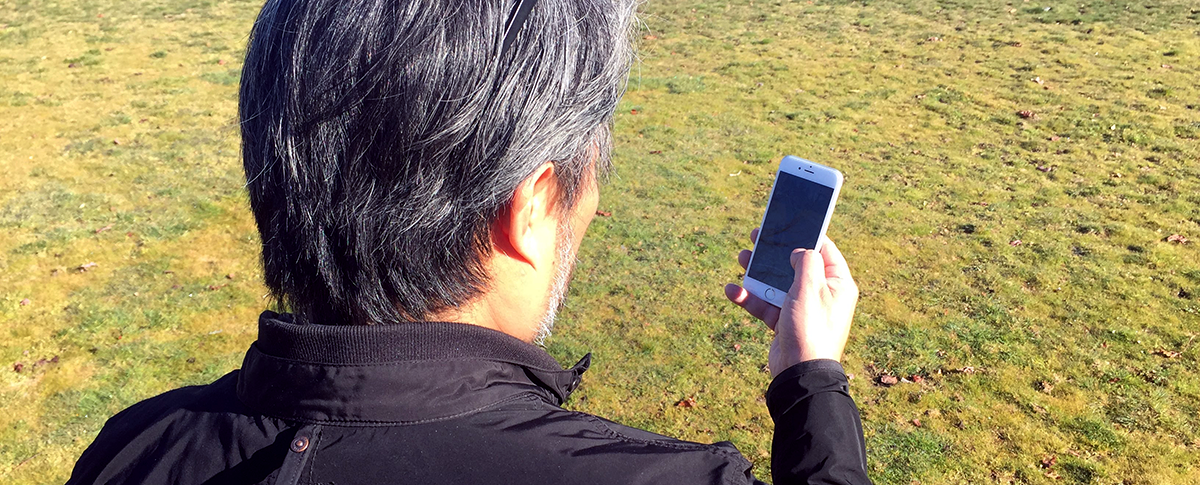
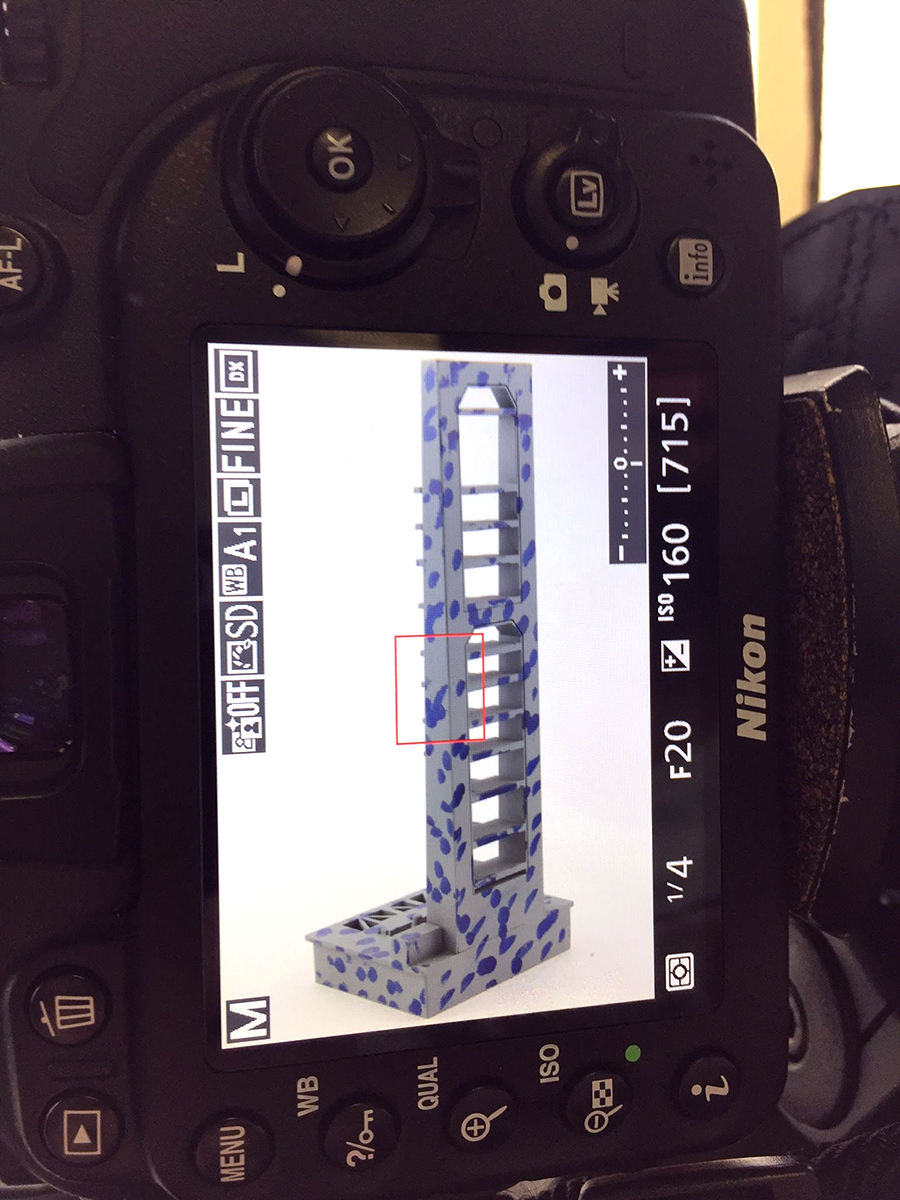
Much like the many prototypes we created, my own workflow underwent many iterations of its own. The very first test I did was done simple, using my phone, a model on a table and a poorly lit environment. Despite this rudimentary beginning, the first result produced was incredibly exciting, a 3D model that was identical to its real-world counterpart.
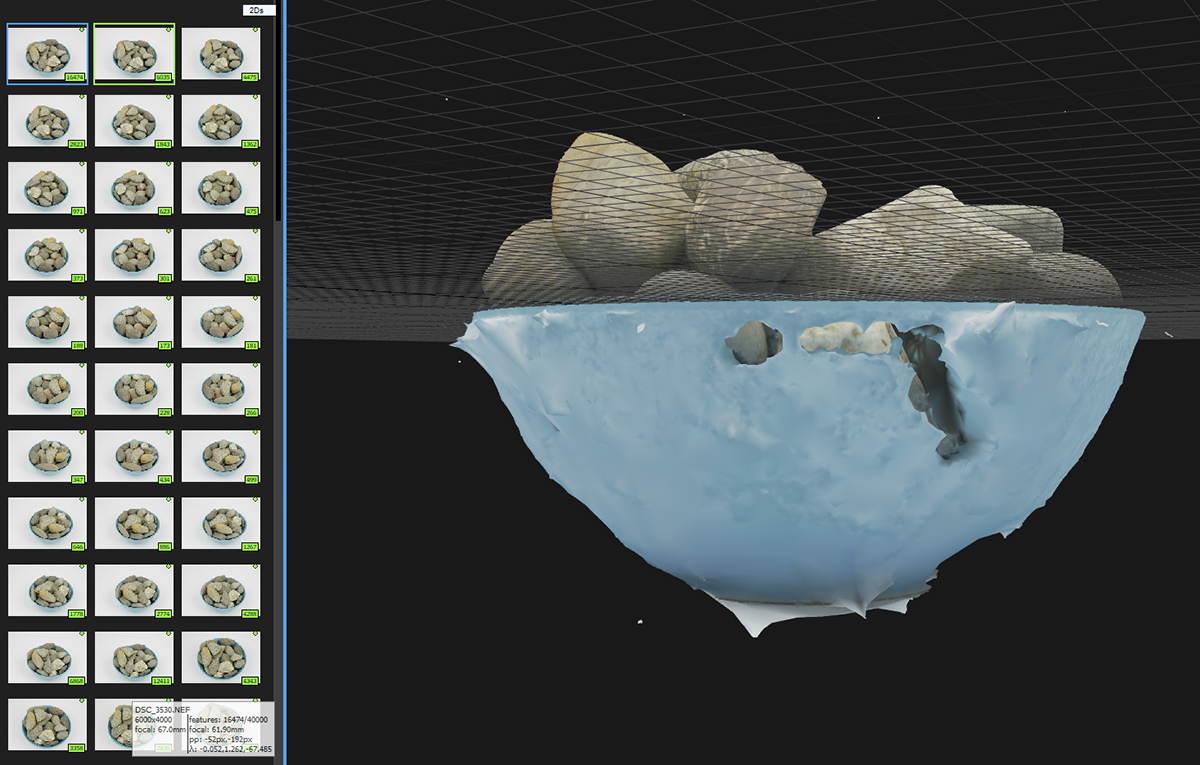
3D viewer of the first photogrammetry test
Soon after this initial starting point, we constructed a photobooth in the CDM’s hangar, allowing us to capture better photographs. This was a big improvement over the first test, as I no longer had to move the camera around the subject. Instead, I could simply rotate the object in place, which sped up the process exponentially.
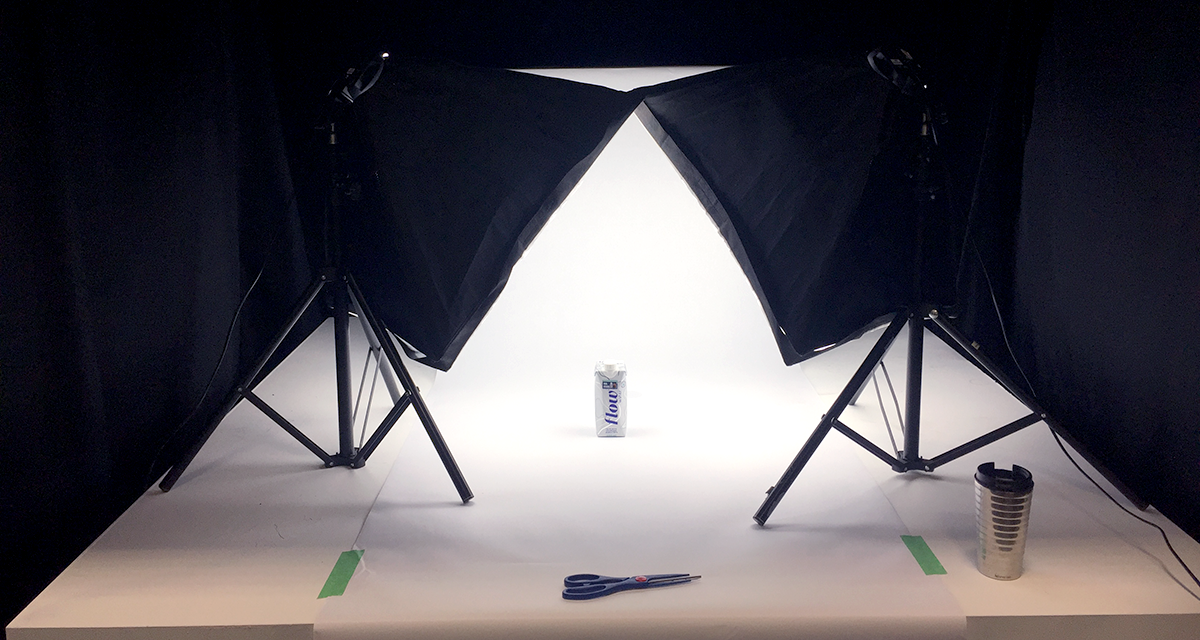
First iteration of the photo booth
This booth underwent one further iteration, to make it even more efficient. We created a simple lightbox using a cardboard box, card paper, translucent fabric and 3 lights. We even constructed a turntable using a plate, card paper and a fidget spinner taped underneath. Rather than picking up and moving the object, I could instead rotate the turntable. The lighting changes allowed the object to be perfectly lit in each photo, making the lighting of the final model much more consistent than before.
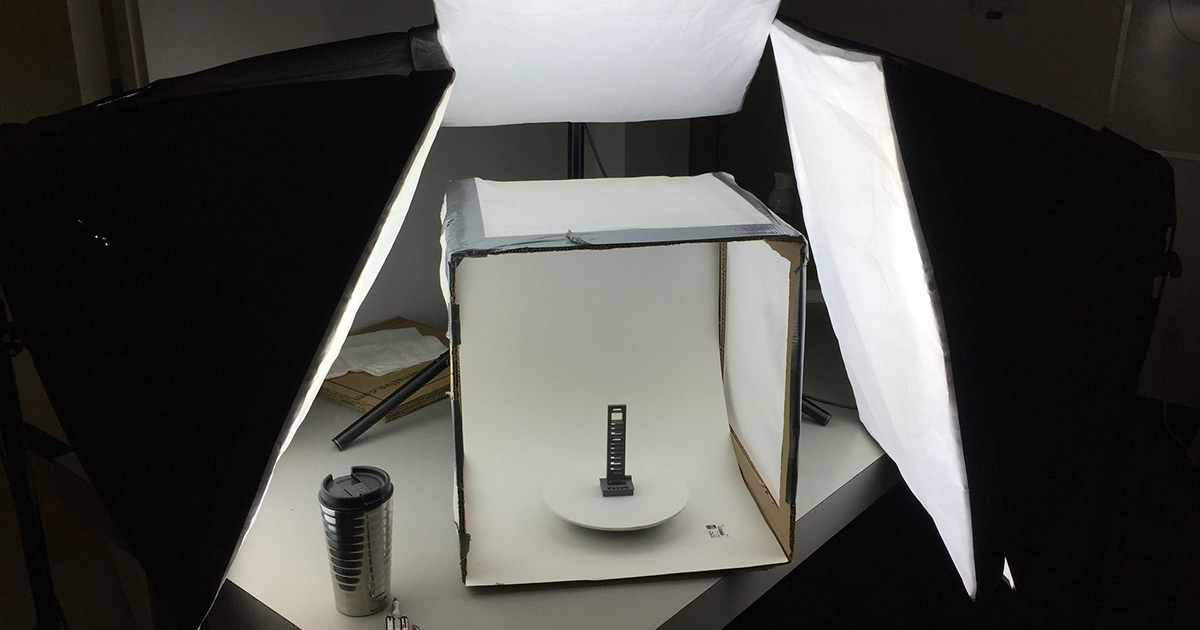
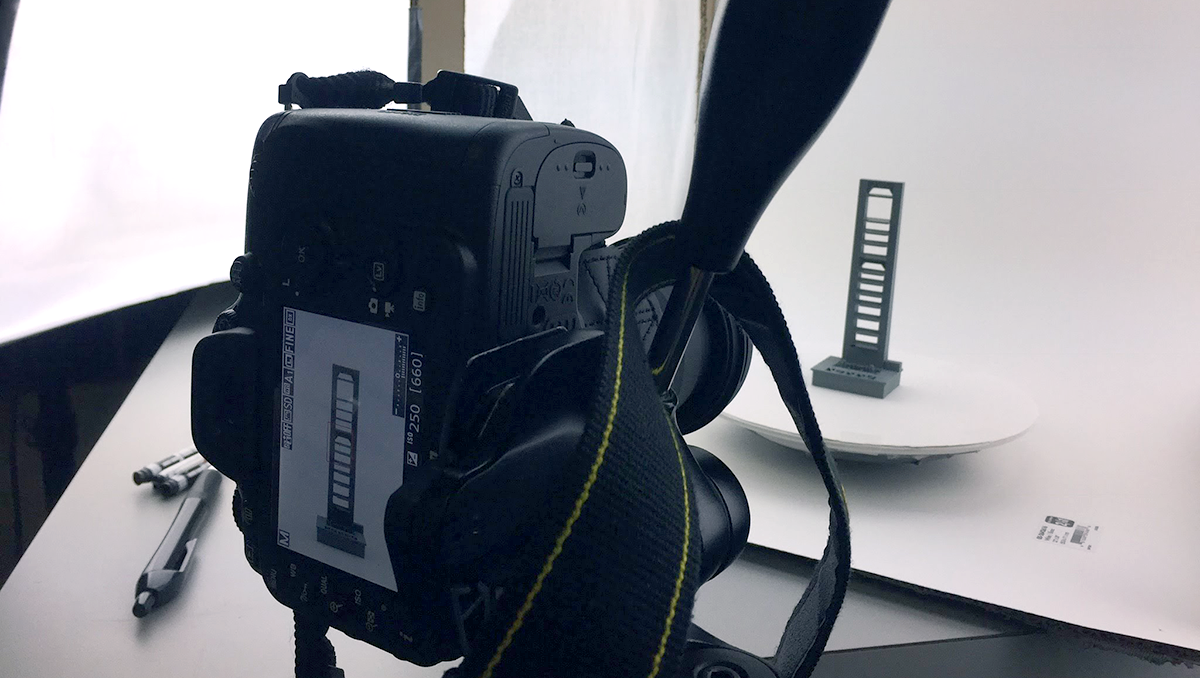
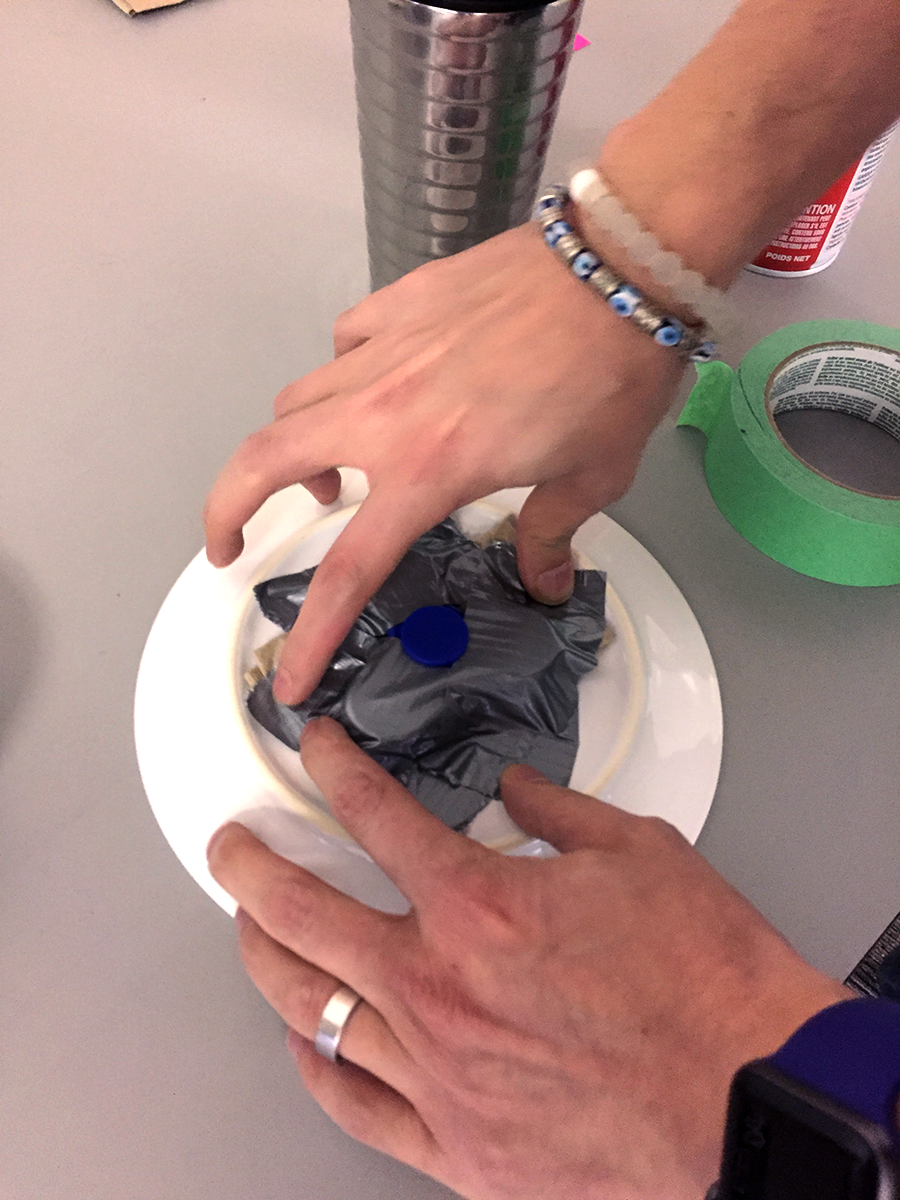
Final iteration of the photo booth
Throughout the project, I worked with 3 different pieces of software to create these models. I started with Autodesk’s ReCap but later switched to Reality Capture and Agisoft Photoscan as they were constructed on the local machine rather than a cloud service. There were many failed results throughout this process, but each time a model was successfully made was incredibly satisfying. This technique allows for near-realistic 3D models to be quickly made, which complimented the aesthetic of an AR experience.
For every successful model...
There were also failed attempts
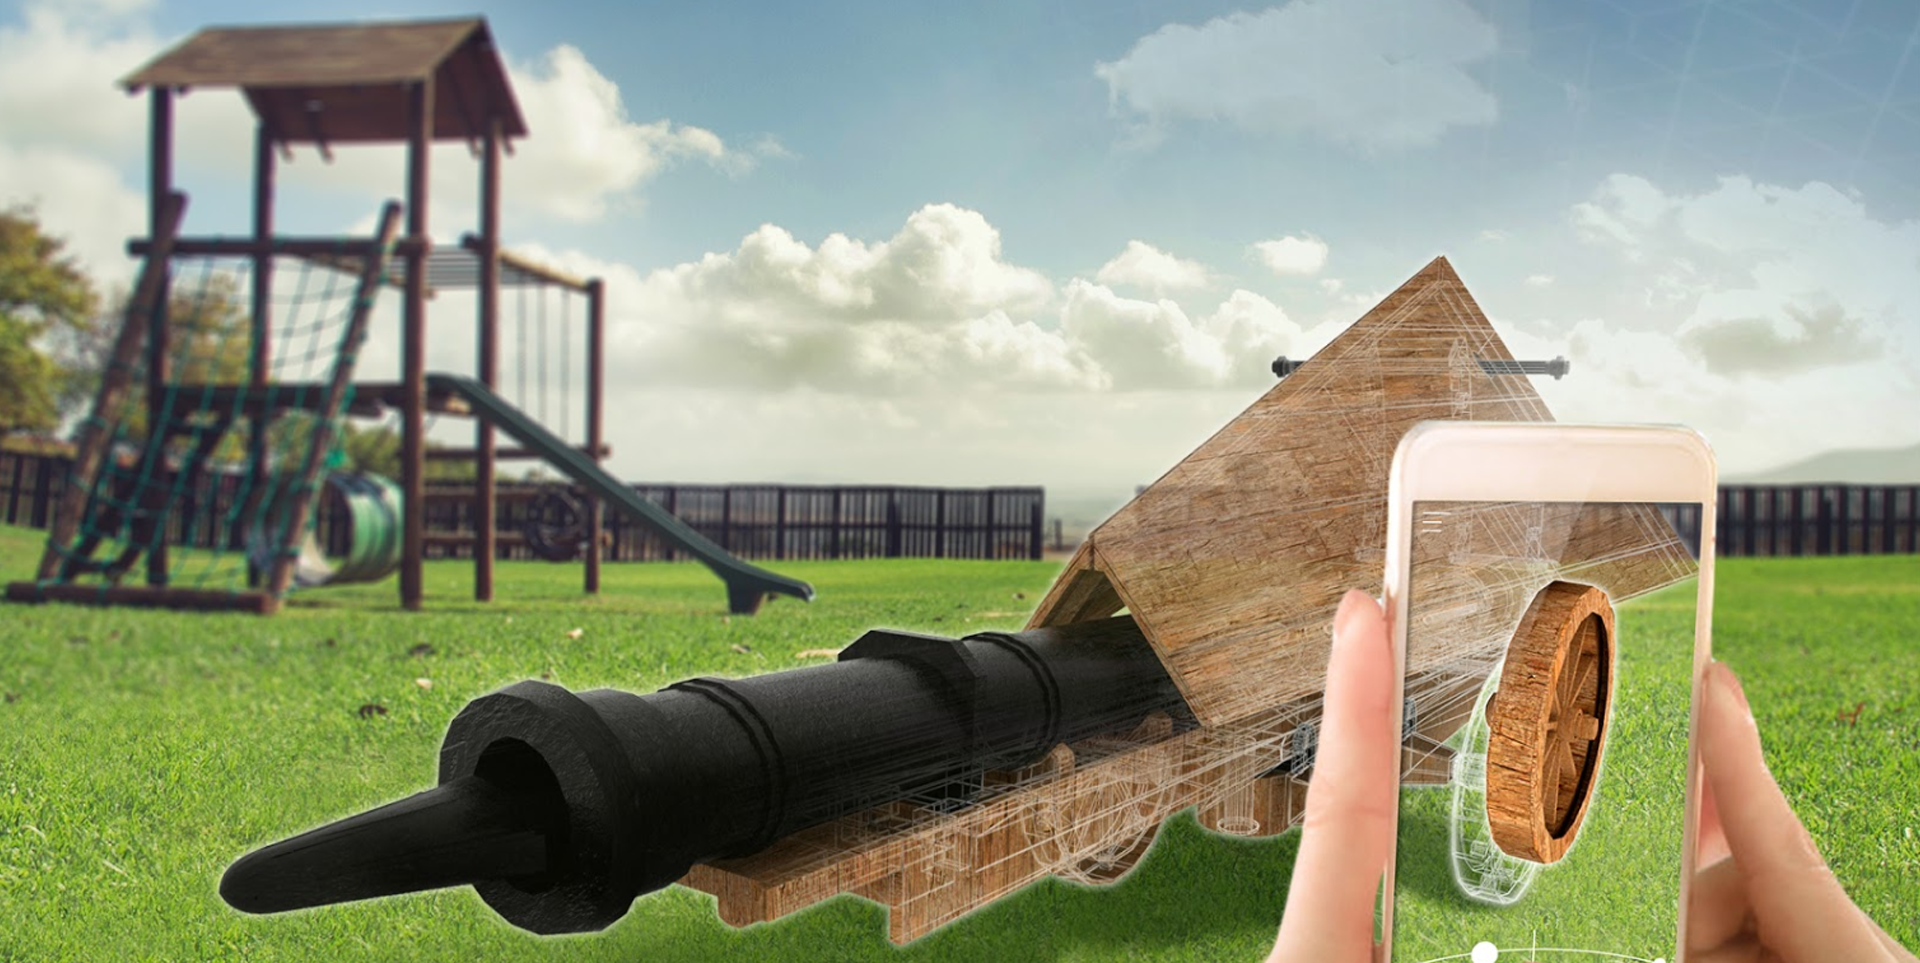
In addition to photogrammetry, this project was a chance for me to practise my 3D modelling skills. I used a combination of 3DS Max and Blender to create a model of Leonardo DaVinci’s spingarde prototype. While it was challenging to wrap my head around some of the aspects of modelling, I’m proud of what I was able to create and it was used as the basis for one of the puzzles in the final prototype.
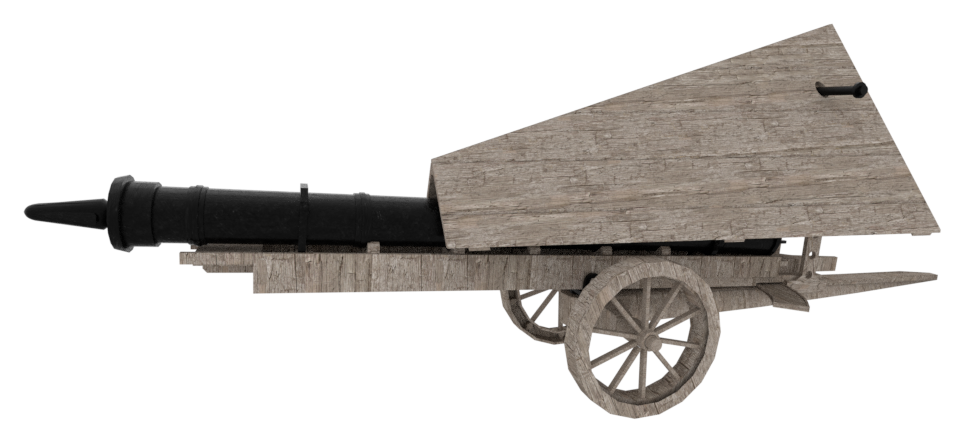
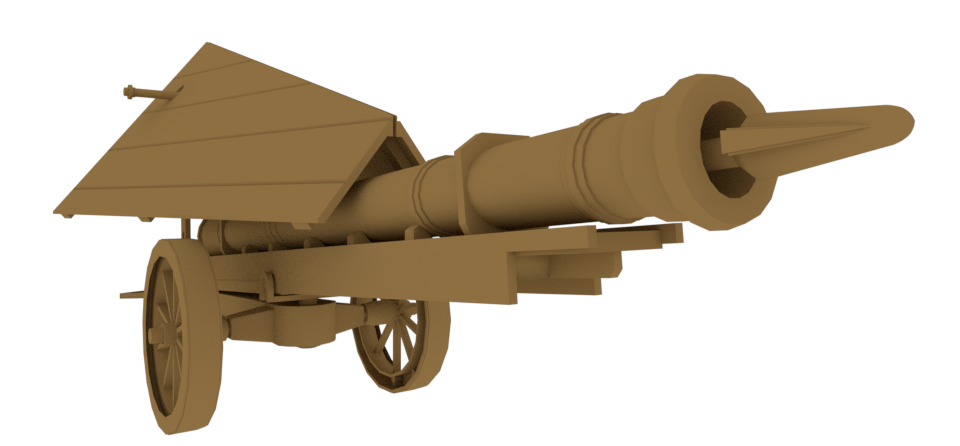
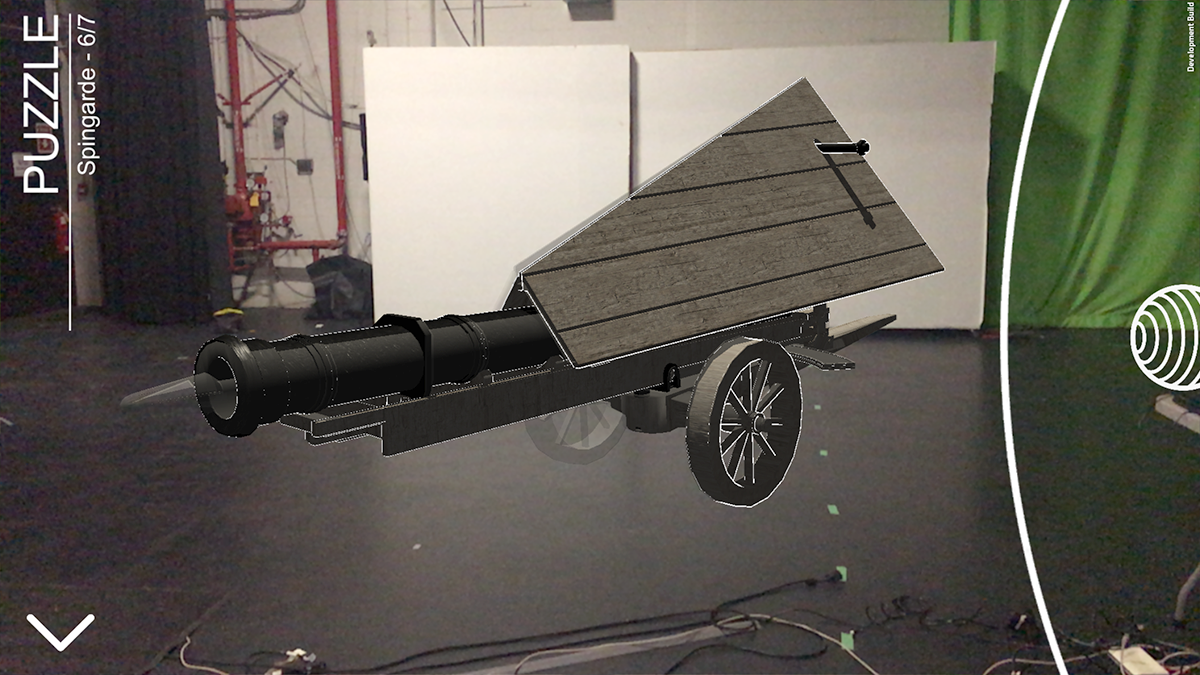
3D model of DaVinci's spingarde
Final Hand-Off
The extensive testing and iterating paid off and by the end of the project, we were able to hand off a prototype app that we were proud of. While that alone was a great achievement, what we learned from our client was invaluable. He also acted as a mentor to our team, sharing with us his vast knowledge and experience in the gaming industry. As this was my first time working on an AR project, what I learned from him, as well as my team mates, has greatly benefitted in later projects that I was involved in.
This 13-week journey was an adventure from start to finish.
13 weeks of work forever stored on a single flash drive